
Chemistry apparatus diagrams for worksheets
A chemistry worksheet lives or dies on its apparatus: a student cannot answer "name the apparatus" or "where is the water in and where is it out" if the diagram is a photograph, a screenshot or a shape you assembled badly at eleven at night.
- Glassware and set-ups
- Label-ready
- Editable vectors
- Survives photocopying
Why apparatus diagrams are worth getting right
They carry the practical knowledge. The order of the condenser connections, which way the water flows, where the thermometer bulb sits relative to the side arm - the diagram is where the class reads the method, long before anyone opens a textbook.
Drawn from scratch, a distillation set-up is a dozen shapes and a dozen chances to get the flow backwards. From the library it is four inserts and your own labels, and the drawing is already proportioned the way the apparatus actually looks, which is what makes it recognisable on the bench.
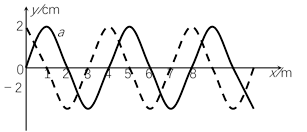
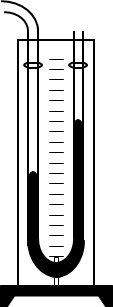
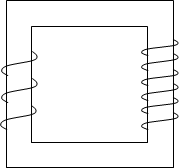
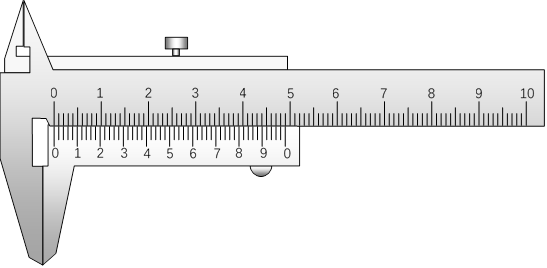
What is in the chemistry library
Glassware
Beakers, flasks, measuring cylinders, burettes, pipettes, condensers, funnels - drawn individually so you can build the arrangement the syllabus asks for.
Measuring and titration
The set-ups that need to be exact: burette stand, meniscus, indicator, the apparatus of a titration practical, and the diagrams for reading a scale correctly.
Heating, distillation and gas collection
Bunsen and tripod, water baths, simple and fractional distillation, delivery tubes and the three classic gas-collection arrangements - each with readable in/out connections.
Case-and-canal apparatus
The laboratory diagrams inherited from the original 2001 library, still useful for showing an arrangement rather than a single piece of glass.
Labelling: where the marks are won
Insert the apparatus first, label second
Build the arrangement while it is still just glassware, then add the labels - it is much easier to adjust a condenser's position before six text boxes and three arrows are attached to it.
Leave the labels off for the class copy
Keep the labelled version as your master, and delete the label text boxes for the worksheet - the class then fills them in. Because the labels are separate shapes, this is four deletes rather than a redraw.
Point at the part, not the space
Use short leader lines to the apparatus. Labels floating beside a diagram are the most common reason a student names the wrong piece of glass.
Show the direction of flow
Water in and water out, gas in and gas out: two arrows turn a diagram into a method. The Symbols library has the arrows and units.
Reuse the set-up across a topic
One distillation diagram serves heating, separation, boiling points and safety. Copy it, delete the labels you do not need, and the second worksheet is five minutes' work.
Building a scheme of work? Keep one document per topic with the apparatus already arranged, so next term's worksheets start from a labelled diagram rather than a blank page.
Every apparatus figure, 7 days, no card
Install it, search for the practical you are teaching this week, and judge the library on your own worksheets.